-40%
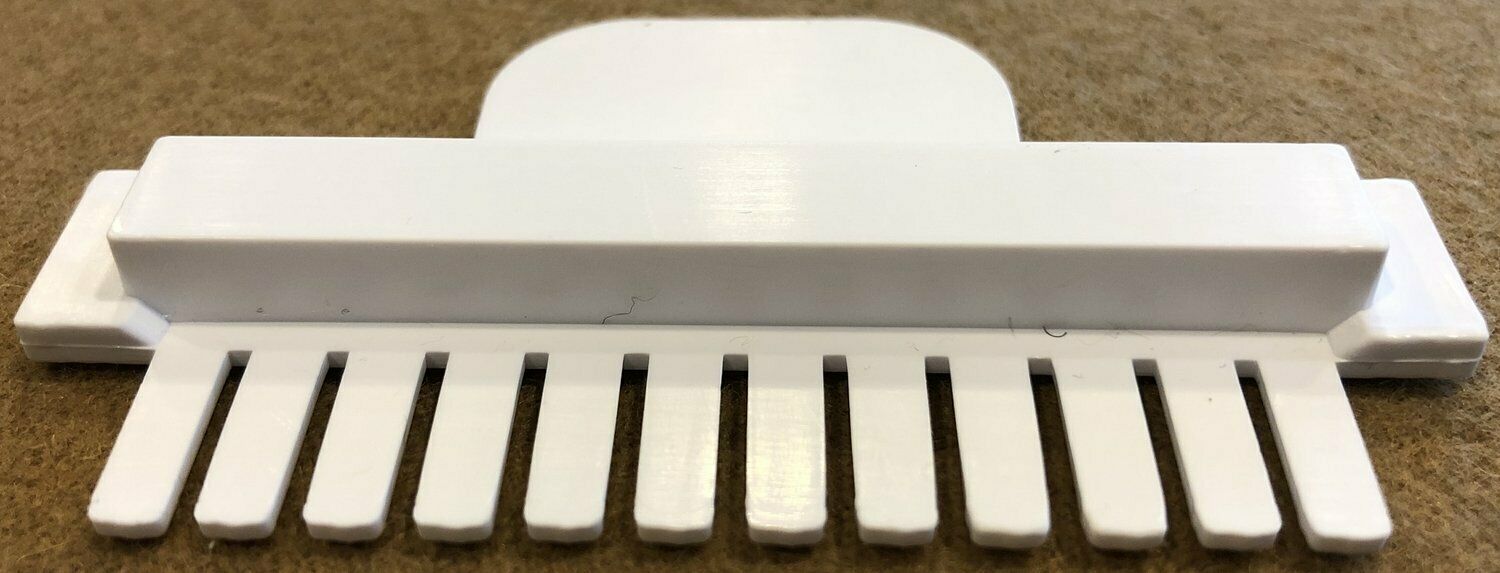
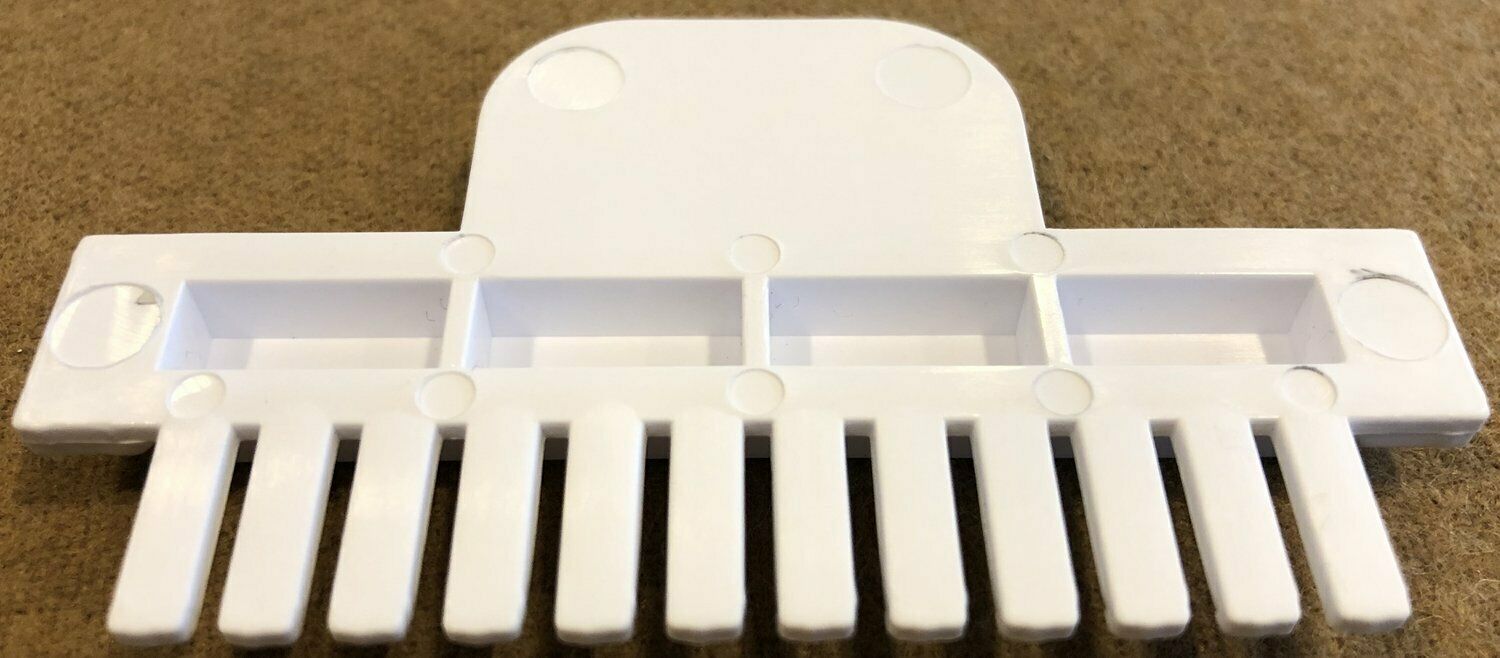
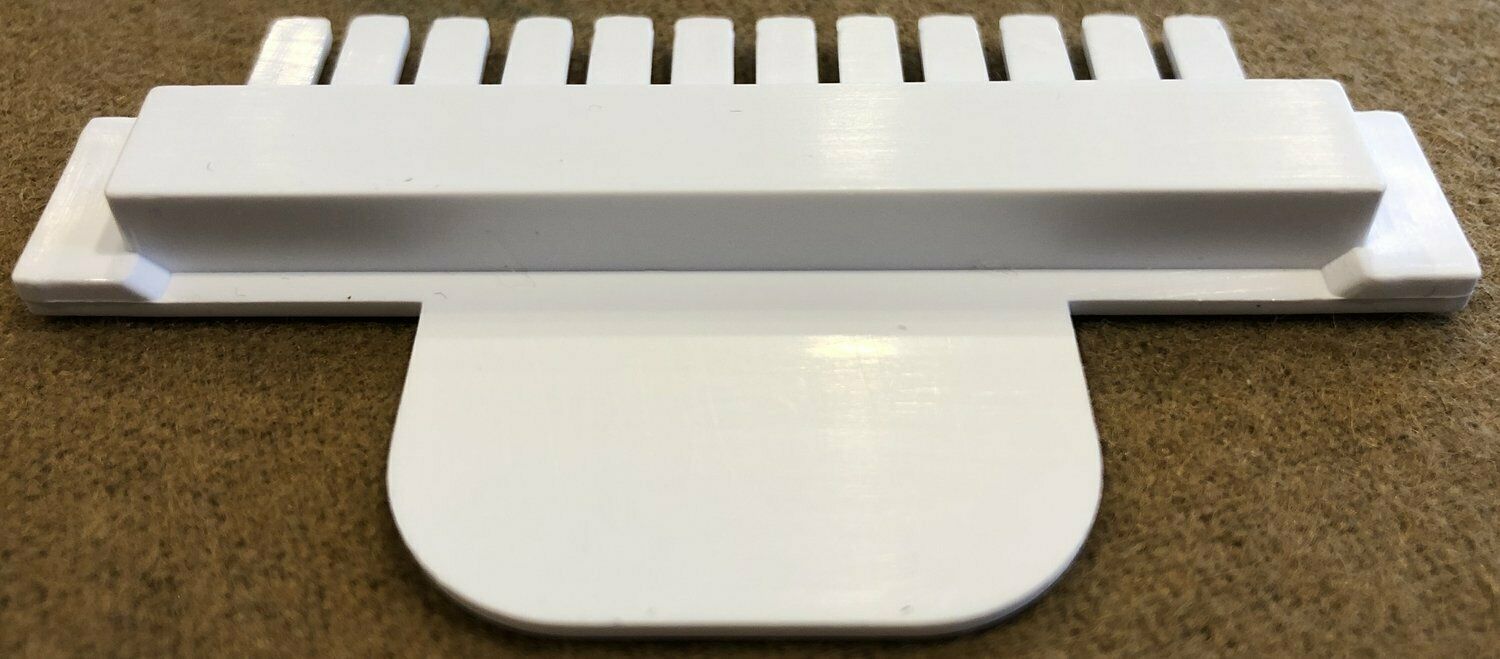
Gel Electrophoresis B1A 10-tooth Comb
$ 13.2
- Description
- Size Guide
Description
Includes:- ALT Smart Cast gel comb 10 tooth (fits into B1A models)
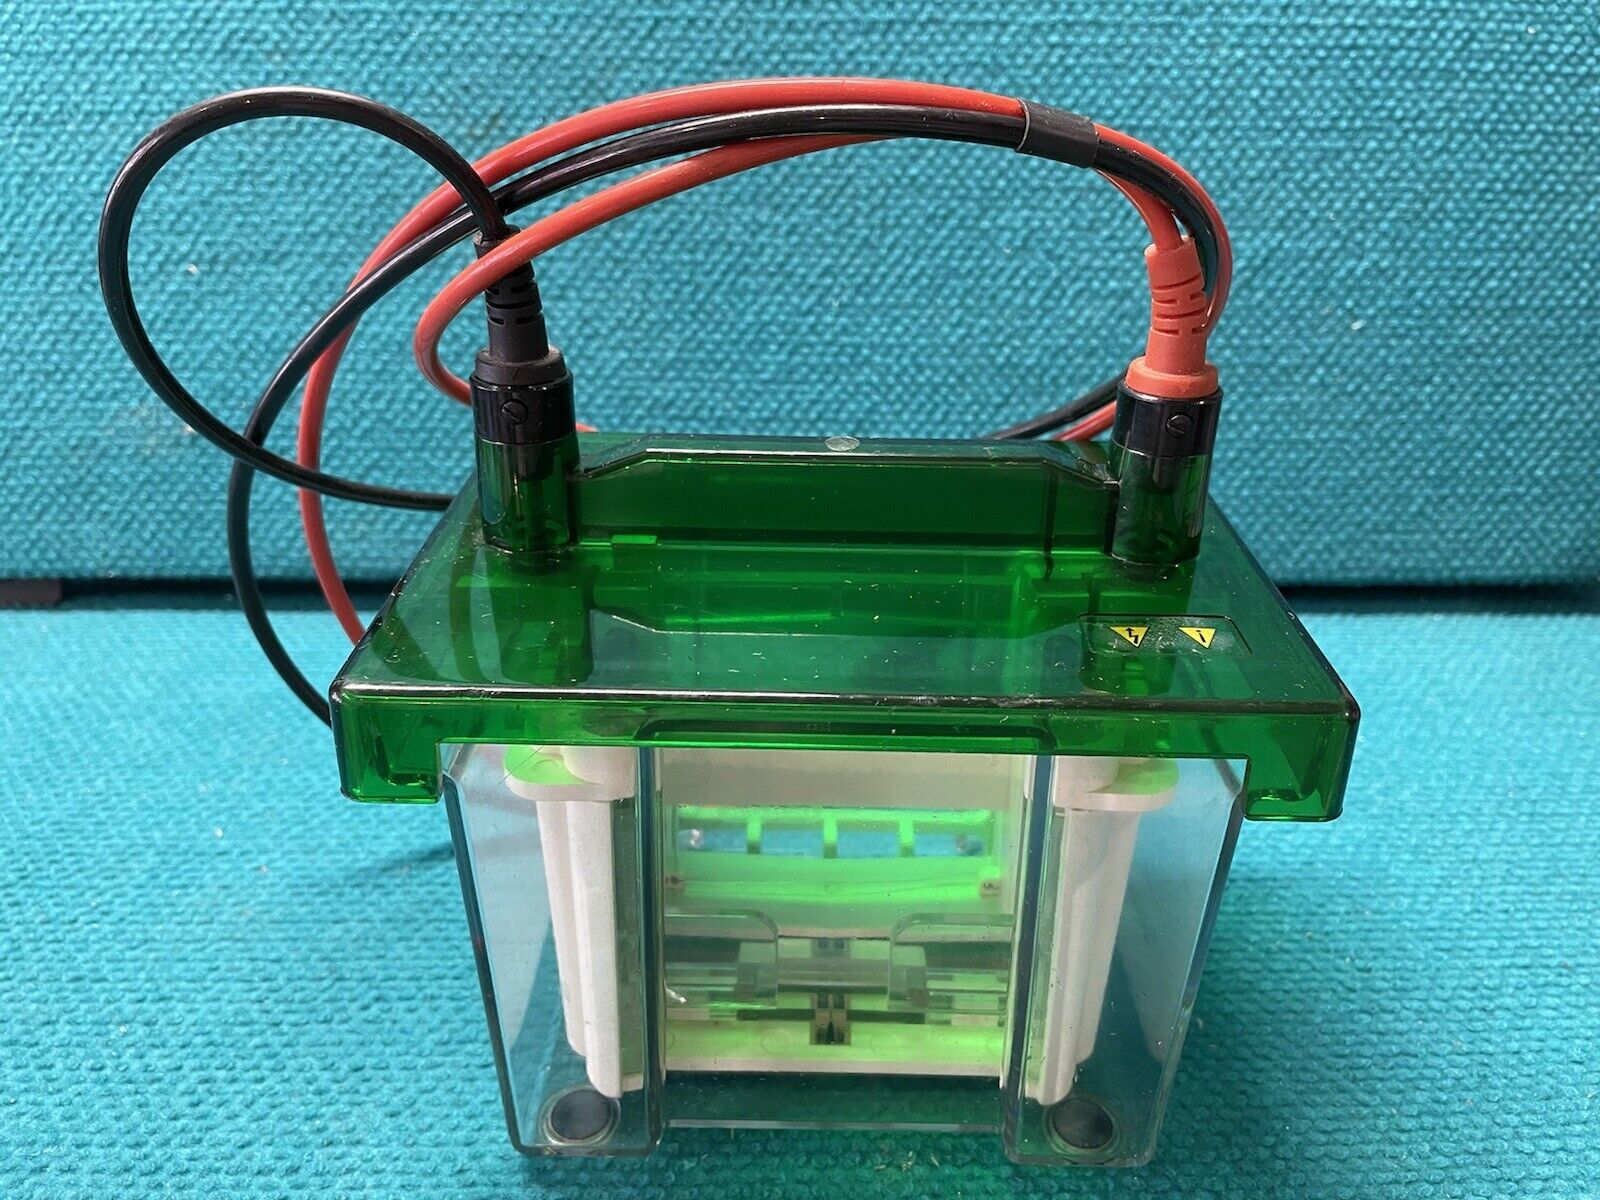
Using modern manufacturing techniques, we can now offer more affordable, durable and efficient scientific instruments. The SmartCast is injection molded using speciality plastics to withstand high heat and is corrosion resistant. It offers the industry first full repairable design - meaning you can replace EVERY part in the kit.
Who is this for?
This affordable and durable gel electrophoresis kit is for ALL science labs who want their equipment to last longer and not pay a fortune to do projects such as…
K-12 STEM education for todays youth
College and University Biology Teaching Labs
Biology Research and Private Labs
How Gel Electrophoresis Works
Gel electrophoresis is a laboratory method used to separate mixtures of DNA, RNA, or proteins according to molecular size. In gel electrophoresis, the molecules to be separated are pushed by an electrical field through a gel that contains small pores. The molecules travel through the pores in the gel at a speed that is inversely related to their lengths. This means that a small DNA molecule will travel a greater distance through the gel than will a larger DNA molecule. As previously mentioned, gel electrophoresis involves an electrical field; in particular, this field is applied such that one end of the gel has a positive charge and the other end has a negative charge. Because DNA and RNA are negatively charged molecules, they will be pulled toward the positively charged end of the gel. Proteins, however, are not negatively charged; thus, when researchers want to separate proteins using gel electrophoresis, they must first mix the proteins with a detergent called sodium dodecyl sulfate. This treatment makes the proteins unfold into a linear shape and coats them with a negative charge, which allows them to migrate toward the positive end of the gel and be separated. Finally, after the DNA, RNA, or protein molecules have been separated using gel electrophoresis, bands representing molecules of different sizes can be detected.
Applications of Gel Electrophoresis
Gel electrophoresis is widely used in the molecular biology and biochemistry labs in areas such as forensic science, conservational biology, and medicine.
Some key applications of the technique are listed below:
• In the separation of DNA fragments for DNA fingerprinting to investigate crime scenes
• To analyze results of polymerase chain reaction
• To analyze genes associated with a particular illness
• In DNA profiling for taxonomy studies to distinguish different species
• In paternity testing using DNA fingerprinting
• In the study of structure and function of proteins
• In the analysis of antibiotic resistance
• In blotting techniques for analysis of macromolecules
• In the study of evolutionary relationships by analyzing genetic similarity among populations or species
ELECTRICAL SHOCK WARNING:
Disconnect unit from power supply to prevent electrical shock while handling or moving unit.
Do not touch conducting buffer solution (buffer) or electrical leads until unit is disconnected from power supply.
If unit or electrical leads are damaged or cracked, discontinue use immediately.
CLEANING AND GENERAL CARE:
Only clean unit with mild detergent and water.
Never apply organic solvents or ethanol to clean unit as doing so will crack/damage the unit.
Never microwave, bake or autoclave unit as temperatures above 70°C will crack/damage the unit.
PERSONAL/LABORATORY SAFETY:
1. Understand, read and perform the steps outlined in this operating manual to insure proper safe operating techniques.
2. Qualified and trained personnel required to operating unit for this symbol: Electrical Hazard.
3. Unplug unit from power supply when performing service or maintenance.
4. Surfaces of unit may become hot, use caution while handling unit to prevent burns to personnel or environment.
5. PPE (personal protective equipment – i.e. googles, gloves, clothing, etc.) must be worn while using unit.
6. Practice proper hygiene techniques at all times.
7. Practice safety for one’s self at all times.
8. Do not exceed the ‘MAX FILL LINE’ with buffer. Electrical connection holes are NOT sealed and will leak liquid if overfilled.
9. Do not touch electrical leads or conducting buffer solution on unit.
Step 1b: Preparing Gel Tray Outside of Gel Box(tape technique)
Use any type of tape that does not leave a residue upon removing (transparent tape, masking tape, etc.) to create two temporary walls on the gel tray. Apply a length of tape long enough to cover the length of one side of the gel tray with enough overhang to extend past the edge to safely secure the tape to the tray. Apply the tape as shown below. The adhesive portion of the tape will face towards the tray. Perform this task on the opposite side of the gel tray. Secured tape will form a temporary leak-proof wall. Test with water for any leaks first.
Step 3: Pouring the Gel
Pour ~60mL of agarose mixture (from Step 2) into the gel tray that was prepared from (Step 1a or Step 1b). Insert the gel comb onto the gel tray (in the designated gel comb slot of the gel tray) right after pouring the mixture.
Step 4: Positioning the Gel
Wait ~20-30 minutes or until gel mixture has hardened and remove the gel comb from the gel tray. Remove the gel tray from the gel box (if using Step 1a) or remove tape from the gel tray (if using Step 1b). Rotate gel tray 90° so that the walls of the gel tray are parallel with the long side of the gel box (gasketed ends of the gel tray are facing towards the short side of the gel box).
Step 5: Pouring the Buffer
Hand pour electrophoresis-grade running buffer into gel box up to “MAX FILL LINE”. Do not exceed the “MAX FILL LINE” as the electrical connection ports are not sealed and will leak buffer.
Step 6: Pipet Sample into Gel’s Cavities
Prepare samples using experiment’s protocols. Pipet sample into cavities or wells in the gel. Apply colored dye to sample for visual monitoring during gel electrophoresis experiment run.
Step 7: Setting up power and running experiment
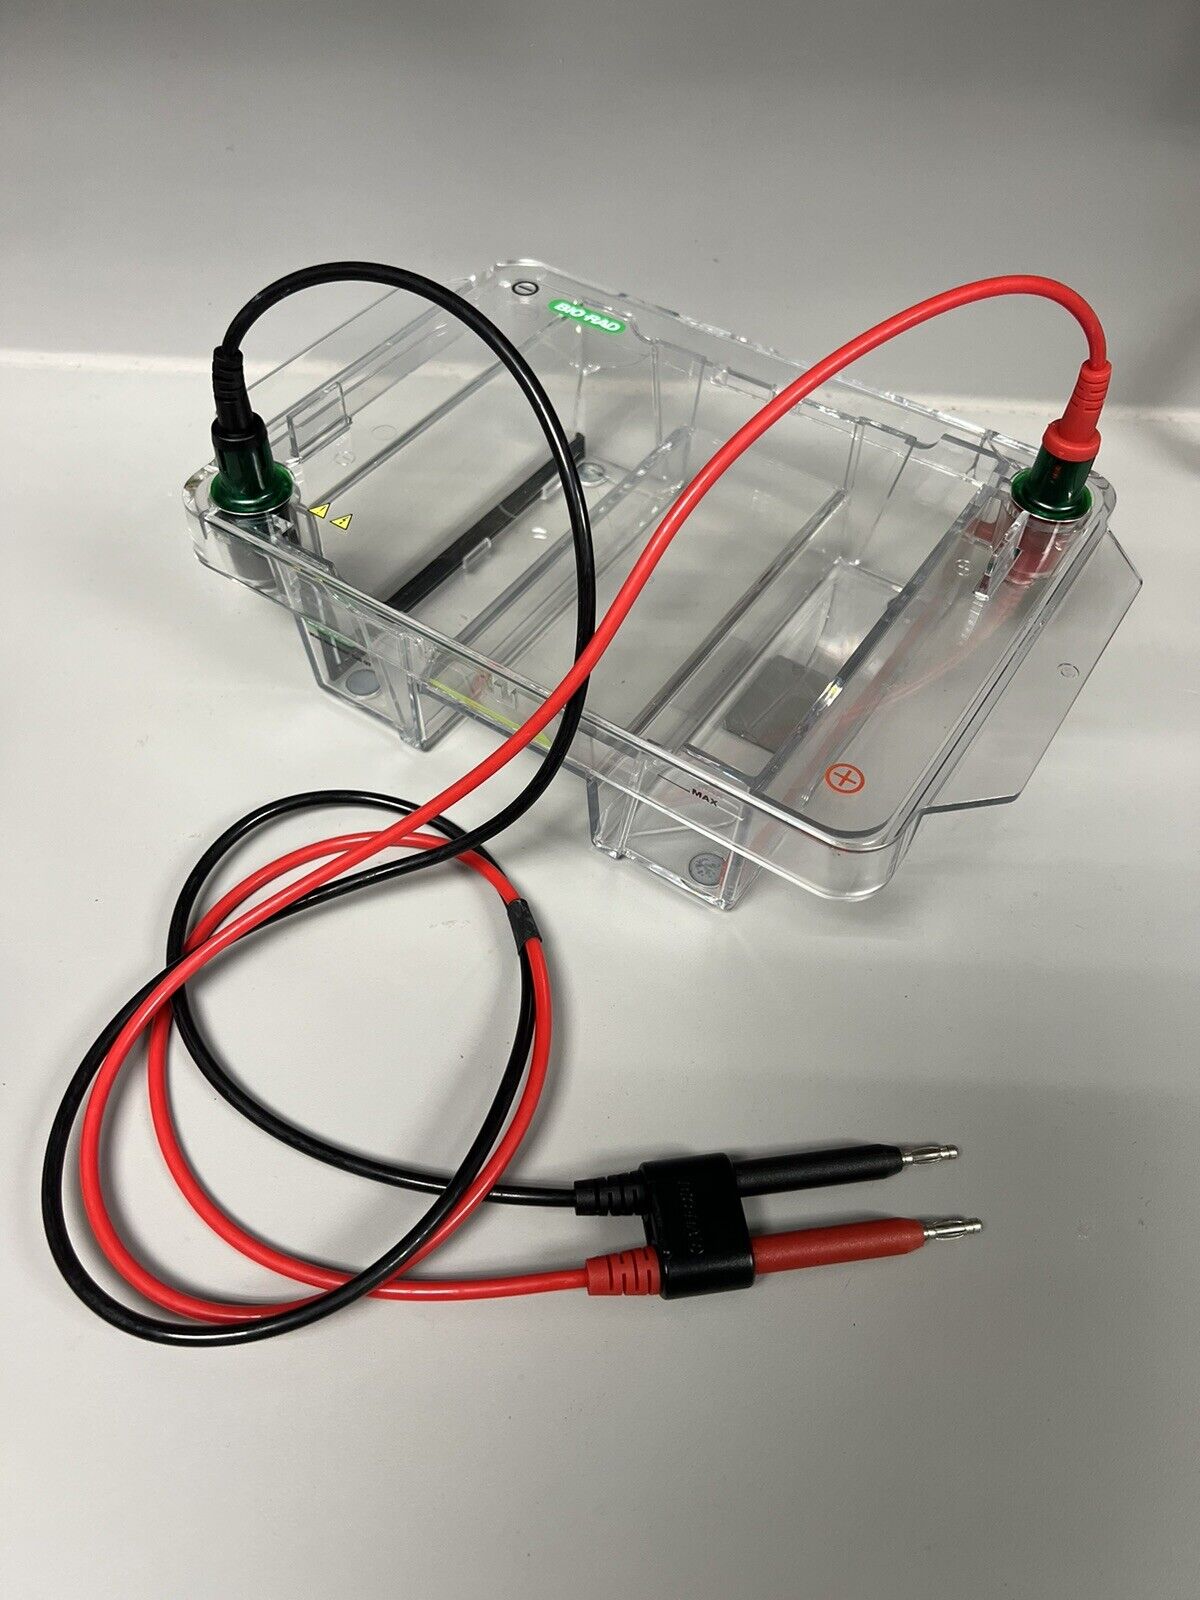
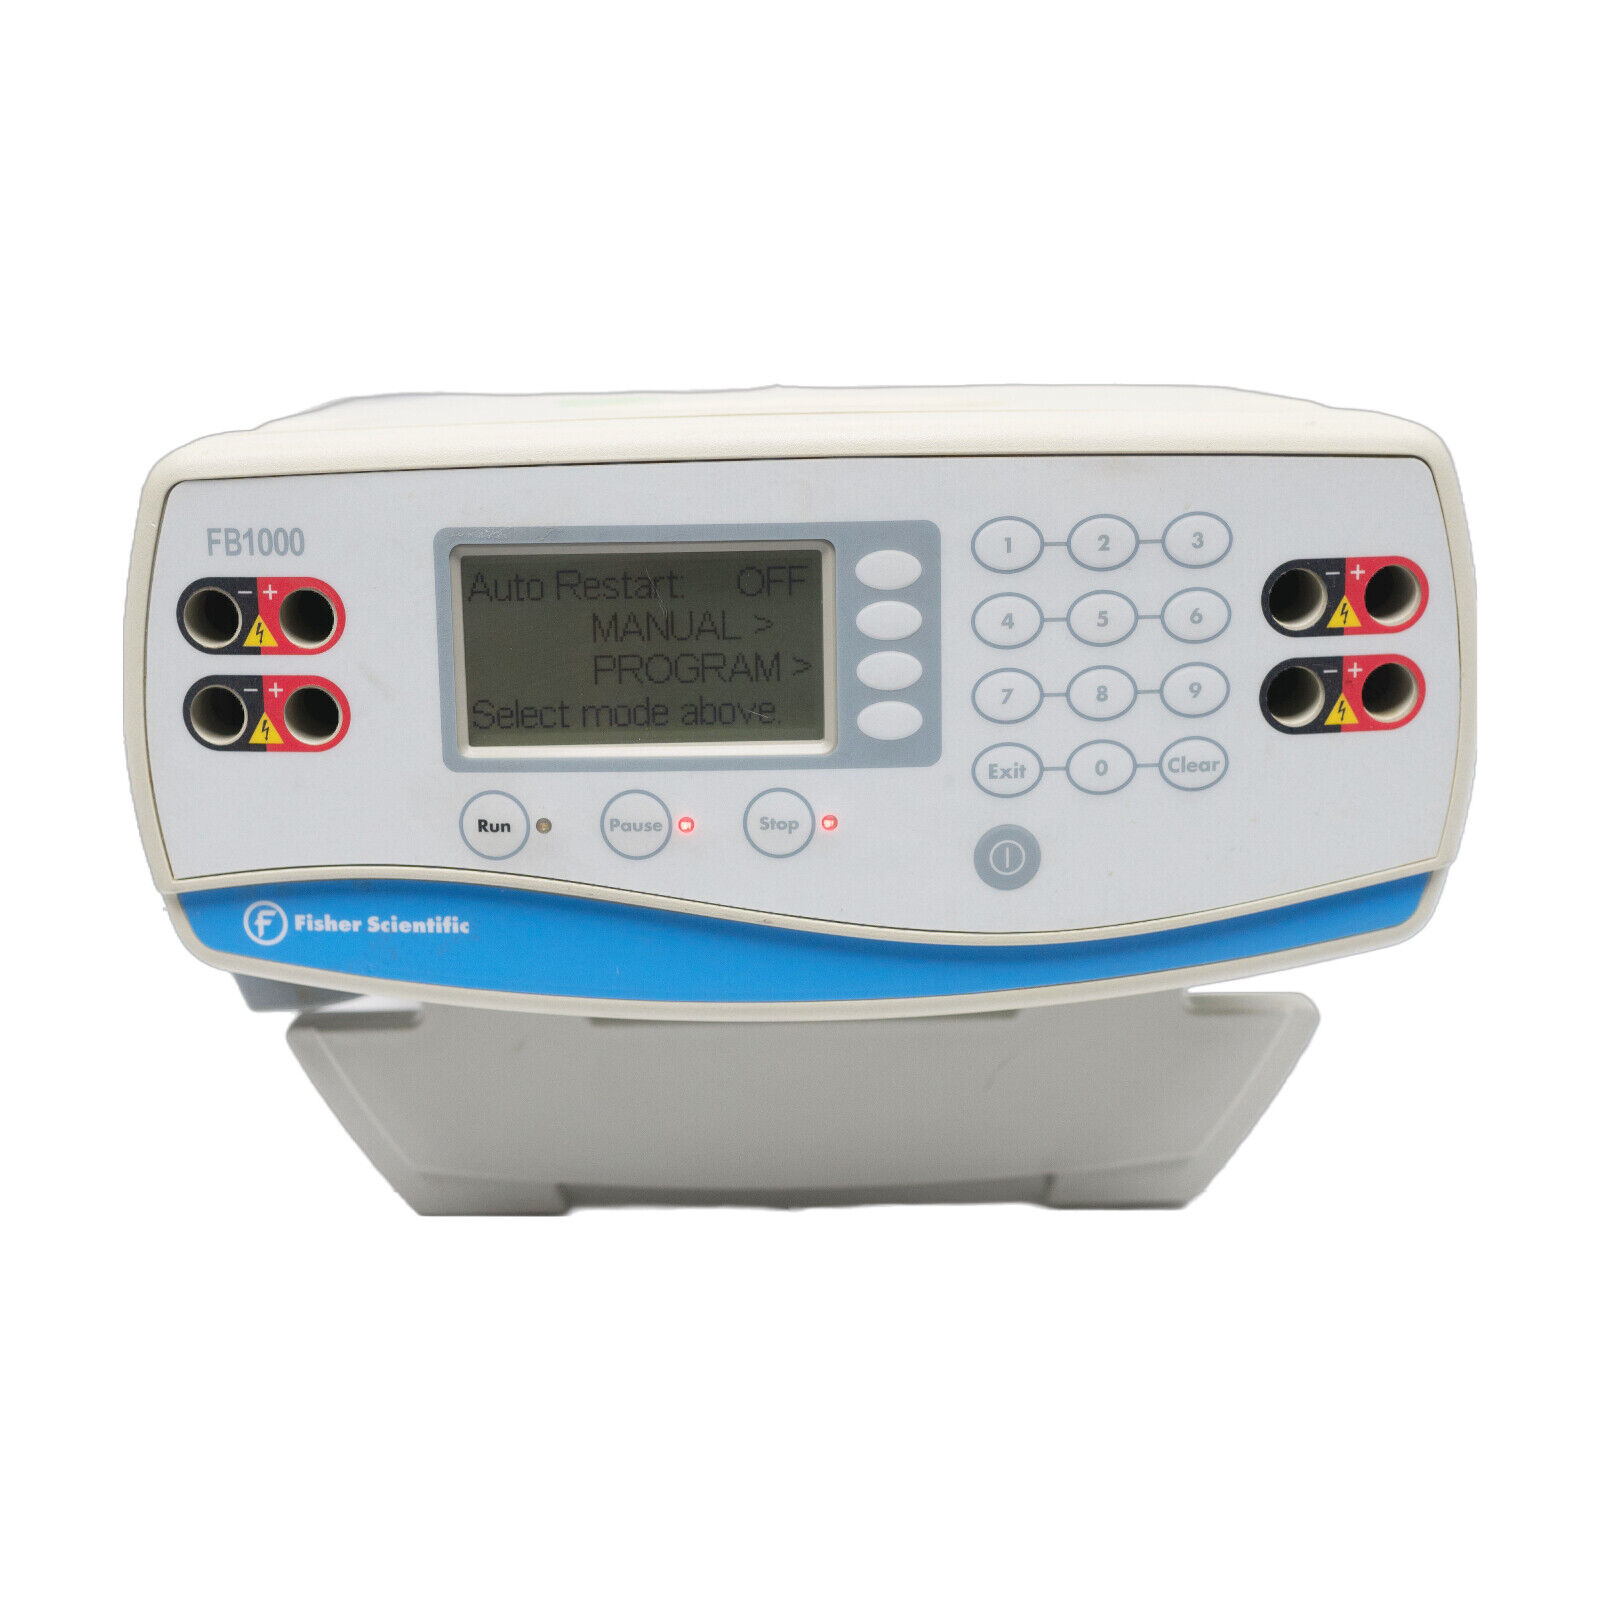
Attach power cables to electrical leads on the gel box. The negative (black) power cable will be placed closest to the end of the gel tray with the ‘START HERE’ sticker. The positive (red) power cable will be placed furthest away from the end of the gel tray with the ‘START HERE’ sticker. Slip gel cover into the gel box’s top grooves. Insert power cables into an electrophoresis power supply and turn on power supply. Be sure to periodically monitor the gel’s progress by stopping the power supply and removing the gel cover.
Step 8: Removing the gel tray from gel box
Turn off power supply when the dye reaches near the end of the gel or specified in the experiment’s protocols. Remove power cables from power supply and gel box. Remove gel cover from the gel box. Grab onto the ends of the overhangs of the gaskets and pull the gel tray out of the gel box. The gel tray may be difficult to remove from the gel box due to the tight seal therefore pull on the gaskets in an alternating fashion will lift the tray easier. Gel box, gel tray, gel comb and gel cover must be rinsed with detergent and water after use.
